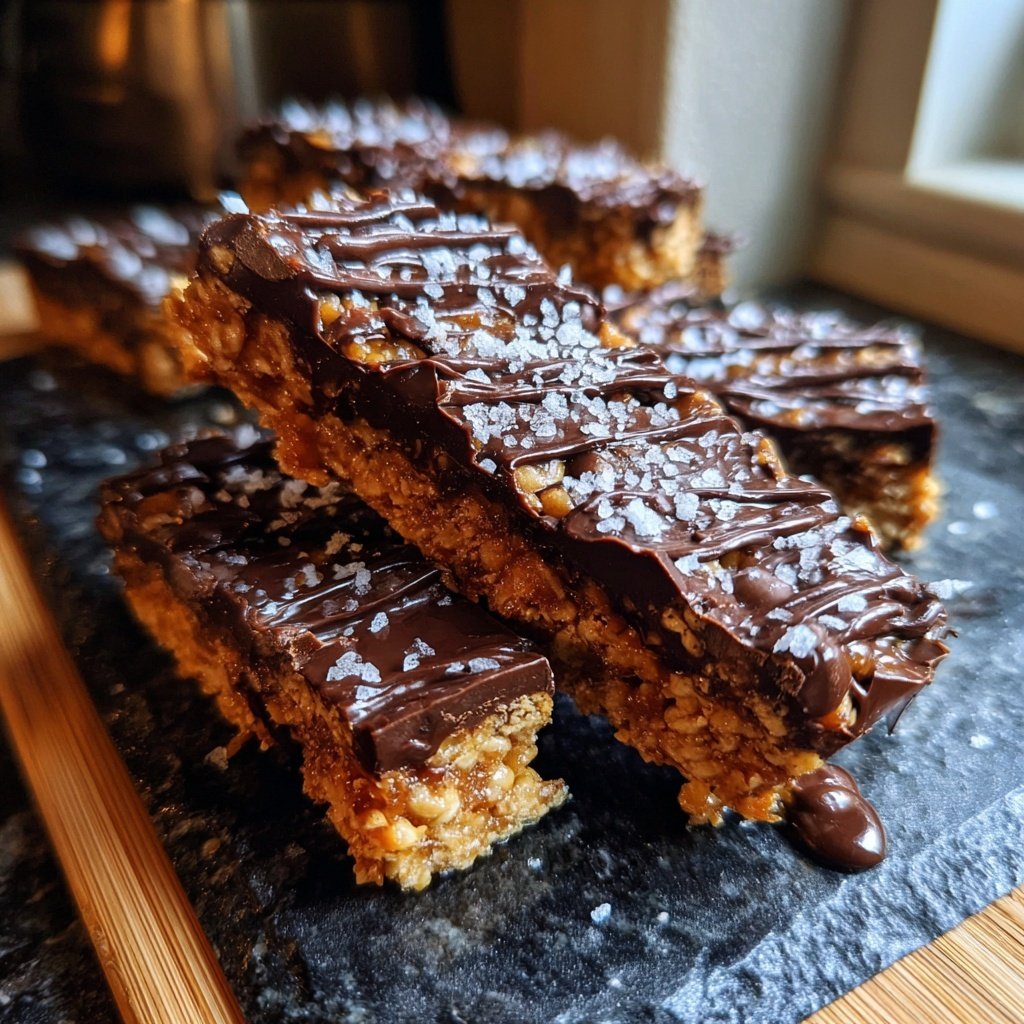
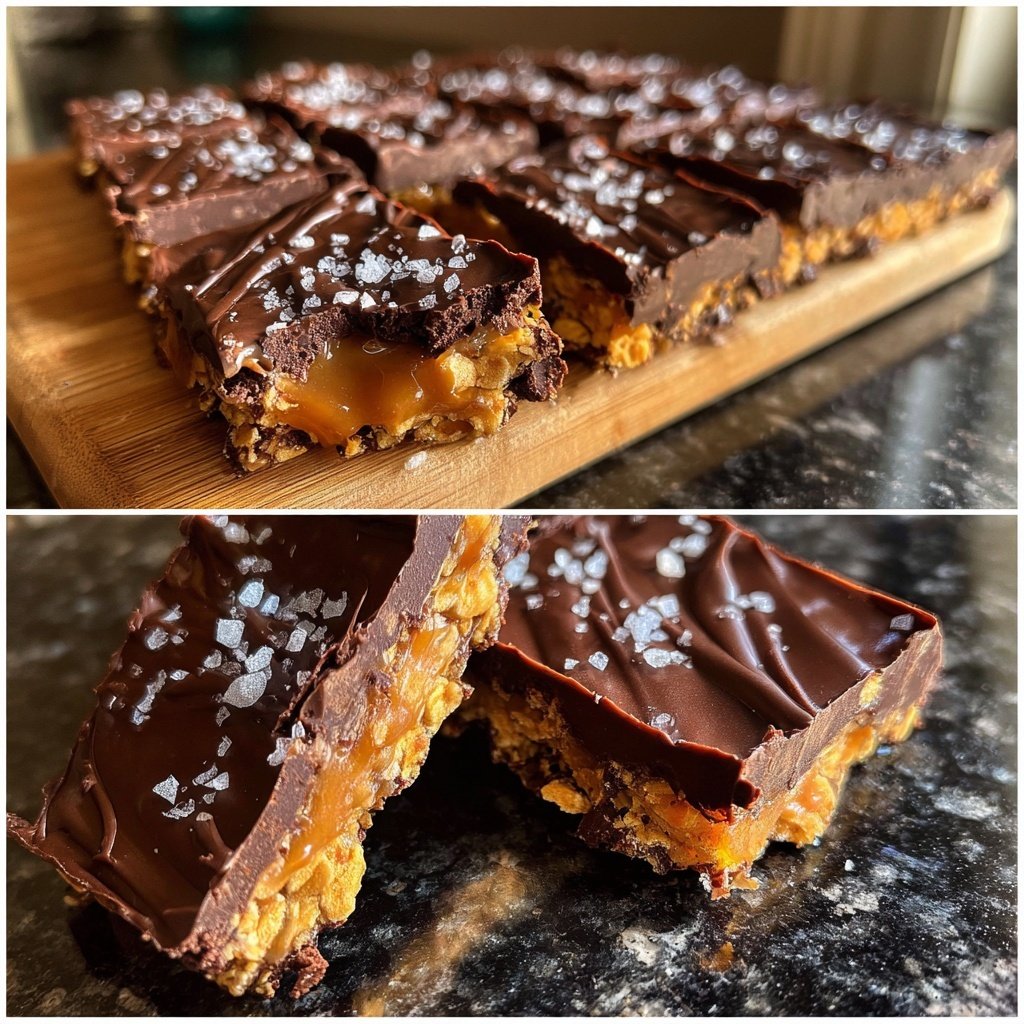
Chocolate Honeycomb Bars
Highlighted under: Sweet Oven Classics
When I decided to make Chocolate Honeycomb Bars, I wasn't just looking for a sweet treat; I wanted to create a snack that I could share during gatherings. The combination of airy honeycomb and rich chocolate can turn anyone's day around. With just a few ingredients and some basic techniques, I discovered how to make these bars shine. Every bite offers a perfect crunch followed by a delightful chocolate glaze. Trust me, once you try these, you’ll find yourself making them more often to impress family and friends!
Making Chocolate Honeycomb Bars was an exciting experiment in textures and flavors for me. The first time I attempted this recipe, I realized the importance of controlling the temperature while cooking the sugar; it can easily go from perfect to burnt in mere moments. Watching the sugar bubble and transform is a delightful spectacle that’s truly rewarding.
One tip I learned is to let the honeycomb sit a bit longer in the pan before cutting it. This allows it to firm up adequately, ensuring clean edges when you slice it. The satisfaction of revealing the crisp, golden honeycomb inside is something I look forward to every time!
Why You Will Love This Recipe
- Crunchy texture that contrasts beautifully with smooth chocolate
- Simple ingredients that come together to create a show-stopping dessert
- Perfect balance of sweet and slightly bitter flavors
The Science of Honeycomb
Creating honeycomb is a delightful experiment in candy making that hinges on the right ratios and temperature. The sugar and golden syrup mixture must reach a precise golden amber color, which typically takes about 4-5 minutes on medium heat. This key stage is crucial; if the mixture isn't heated enough, the honeycomb won't set properly, resulting in a chewy texture instead of the desired airy crunch. Keep an eye on it and remove it promptly to avoid burning.
Once you add the baking soda and stir, the mixture foams up due to the release of carbon dioxide bubbles. This reaction is what gives honeycomb its light, porous structure. Make sure to pour it into a greased pan quickly, as it will start to harden almost immediately upon cooling. Using a square pan ensures even thickness, which is essential for uniform breaking into bars later.
Melting Chocolate Like a Pro
Melting chocolate requires a gentle touch to avoid seizing. Using a double boiler method, as specified in the recipe, allows you to control the heat effectively. Place a heatproof bowl over simmering water, ensuring that the bowl does not touch the water. Stir the chocolate and butter together until you achieve a glossy and smooth consistency. This should take about 5-7 minutes. If you notice any lumps, continue stirring gently; if problems persist, remove the bowl from heat and allow it to sit for a minute before mixing again.
For a richer chocolate flavor, consider using semi-sweet chocolate or even adding a splash of espresso powder to enhance the chocolate profile. When dipping your honeycomb pieces in chocolate, ensure they are fully covered for a satisfying crunch with each bite. Letting them cool on parchment paper makes removal easy and prevents sticking, ensuring your bars maintain their beautiful shape.
Storage and Enjoyment Tips
Chocolate Honeycomb Bars can be stored in an airtight container at room temperature for up to a week, but be careful to separate layers with parchment paper to prevent sticking. If you want to keep them longer, consider freezing them. Wrap the bars tightly in plastic wrap and place them in a freezer bag. They can last for up to three months frozen without losing their delightful texture.
These bars are versatile and can be served in various ways. For a fun twist, you can break the honeycomb into smaller pieces and use them as toppings for ice cream or other desserts. They also make fantastic additions to gift baskets or as party favors, adding a unique touch that’s sure to impress. Experiment with flavor variations by adding spices such as cinnamon or nutmeg to the chocolate for a seasonal flair.
Ingredients
Gather the following ingredients to make your Chocolate Honeycomb Bars:
Ingredients
- 200g granulated sugar
- 80g golden syrup
- 1 teaspoon baking soda
- 200g dark chocolate
- 50g unsalted butter
Make sure your ingredients are measured out before starting to ensure a smooth cooking process.
Instructions
Follow these steps to create your delicious Chocolate Honeycomb Bars:
Make the Honeycomb
In a large saucepan, combine granulated sugar and golden syrup. Cook over medium heat, stirring until the sugar dissolves. Once dissolved, stop stirring and let it boil for about 4-5 minutes until it becomes a golden amber color.
Add Baking Soda
Once the honeycomb mixture reaches the desired color, remove it from heat and quickly stir in the baking soda. The mixture will foam up. Pour it into a greased square pan and let it sit until it hardens.
Melt Chocolate
While the honeycomb cools, melt dark chocolate and unsalted butter together in a heatproof bowl over a pot of simmering water. Stir until smooth.
Assemble the Bars
Once the honeycomb is set, break it into pieces. Dip or drizzle the chocolate over the honeycomb pieces and let them cool on parchment paper until the chocolate has hardened.
Serve and Enjoy
Once the chocolate has set, slice the honeycomb into bars and enjoy your delicious treats!
These bars can be stored in an airtight container for up to a week, but I doubt they'll last that long!
Pro Tips
- If you're new to making honeycomb, keep a close eye on the sugar as it cooks
- it can burn quickly. If this is your first time, consider using a candy thermometer to gauge the temperature accurately.
Ingredient Substitutions
If you prefer a healthier version of these bars, you can substitute granulated sugar with coconut sugar or a sweetener like maple syrup, keeping in mind that this might slightly change the texture and flavor. Similarly, for the chocolate, dark chocolate can be replaced with milk chocolate if you desire a sweeter treat, though this will affect the balance of flavors in the final product.
For those with dietary restrictions, consider using dairy-free chocolate and butter substitutes to make the recipe vegan. Additionally, stirring in a handful of chopped nuts or crushed candy canes into the chocolate mixture before dipping can add an exciting crunch and a seasonal twist without altering the core recipe.
Common Troubleshooting
If your honeycomb doesn't puff up as expected, it could be due to not heating the sugar mixture sufficiently. Keep a close watch on the color, and don’t rush the process; patience is key. Conversely, overheating can lead to a burnt flavor, so it's crucial to remove it promptly from the heat once you've achieved that beautiful golden amber color.
Another common issue arises when melting chocolate. If your chocolate seizes and becomes grainy, it's usually because of moisture getting into the bowl. Make sure all utensils are completely dry and avoid touching them with wet hands. If it does seize, adding a small amount of vegetable oil can help rescue it, giving it a smooth finish once more.
Questions About Recipes
→ Can I use milk chocolate instead of dark chocolate?
Yes, milk chocolate will give the bars a sweeter taste, but it won't have the same rich flavor as dark chocolate.
→ What can I do if my honeycomb didn't rise?
Make sure the baking soda is fresh and that you mixed it in quickly after removing the pan from heat.
→ How long does the honeycomb last?
The honeycomb can last for up to a week if stored in an airtight container.
→ Can I add other flavors to the chocolate?
Absolutely! You can infuse the chocolate with flavors like orange zest, espresso, or even peppermint for a festive twist.
Chocolate Honeycomb Bars
Created by: Callie Morgan
Recipe Type: Sweet Oven Classics
Skill Level: Beginner
Final Quantity: 16 bars
What You'll Need
Ingredients
- 200g granulated sugar
- 80g golden syrup
- 1 teaspoon baking soda
- 200g dark chocolate
- 50g unsalted butter
How-To Steps
In a large saucepan, combine granulated sugar and golden syrup. Cook over medium heat, stirring until the sugar dissolves. Once dissolved, stop stirring and let it boil for about 4-5 minutes until it becomes a golden amber color.
Once the honeycomb mixture reaches the desired color, remove it from heat and quickly stir in the baking soda. The mixture will foam up. Pour it into a greased square pan and let it sit until it hardens.
While the honeycomb cools, melt dark chocolate and unsalted butter together in a heatproof bowl over a pot of simmering water. Stir until smooth.
Once the honeycomb is set, break it into pieces. Dip or drizzle the chocolate over the honeycomb pieces and let them cool on parchment paper until the chocolate has hardened.
Once the chocolate has set, slice the honeycomb into bars and enjoy your delicious treats!
Extra Tips
- If you're new to making honeycomb, keep a close eye on the sugar as it cooks
- it can burn quickly. If this is your first time, consider using a candy thermometer to gauge the temperature accurately.
Nutritional Breakdown (Per Serving)
- Calories: 200 kcal
- Total Fat: 12g
- Saturated Fat: 7g
- Cholesterol: 15mg
- Sodium: 30mg
- Total Carbohydrates: 25g
- Dietary Fiber: 1g
- Sugars: 20g
- Protein: 2g