Mini Heart Cake with Red Velvet
Highlighted under: Sweet Oven Classics
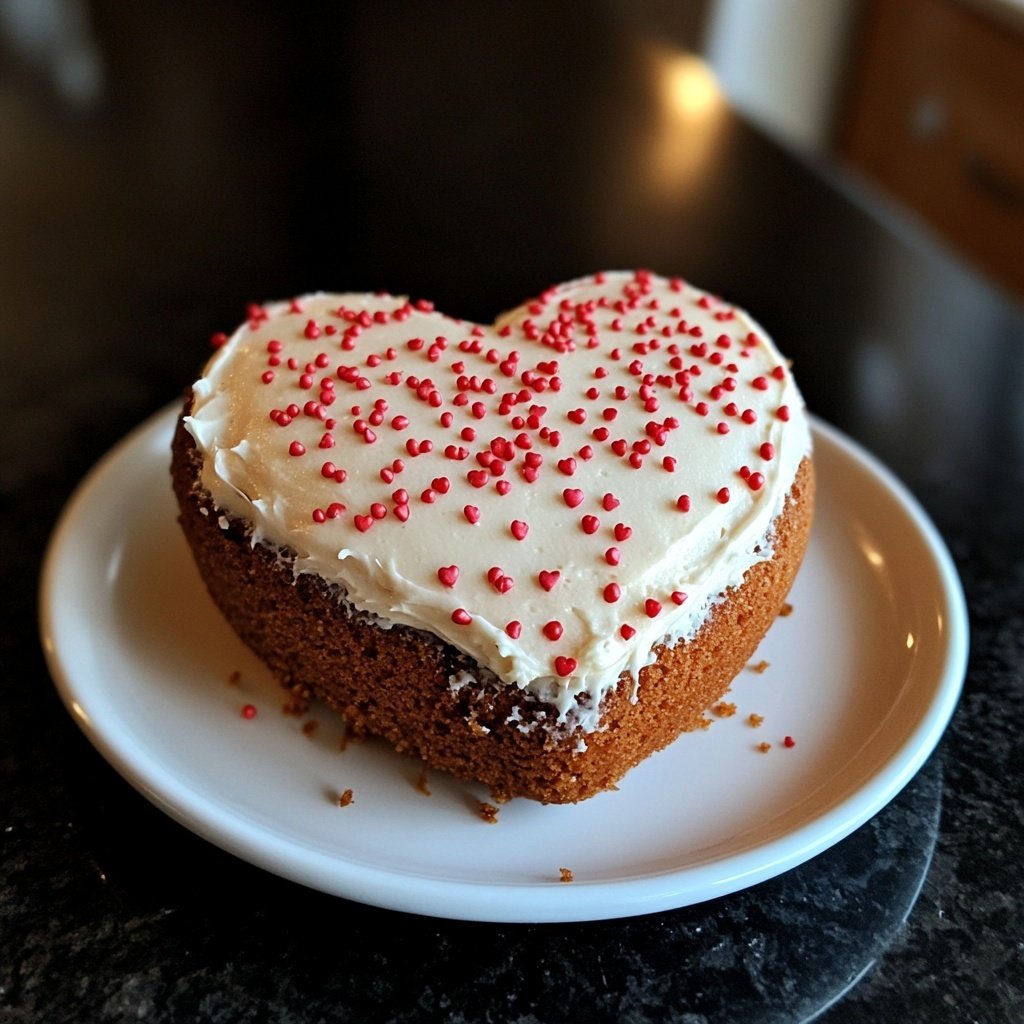
I love baking, and there's something irresistibly charming about mini cakes. This Mini Heart Cake with Red Velvet is a special treat I've adapted to celebrate love or simply enjoy a moment of sweetness. The vibrant red color combined with a cream cheese frosting not only makes it visually appealing but also offers a delightful taste experience. It's perfect for those intimate occasions or as an indulgent dessert for myself. Trust me, once you taste this treat, you’ll want to keep making it!
When I set out to create the Mini Heart Cake with Red Velvet, I wanted to encapsulate everything I loved about traditional red velvet cake but in a sweet, personal package. The baking process revealed a beautiful balance of moist texture and the rich flavor of cocoa with that signature tang from the cream cheese frosting. I experimented with smaller cake layers to create that mini aspect, and I found that they bake quicker and remain incredibly soft!
One tip I discovered is to use buttermilk for that perfect tender crumb. Additionally, red food coloring isn't just for the color; it enhances the flavor profile subtly. It's incredible how something so small can pack a punch of happiness. I can't wait to share this with friends and family!
Why You'll Love This Cake
- Decadent red velvet richness that honors tradition
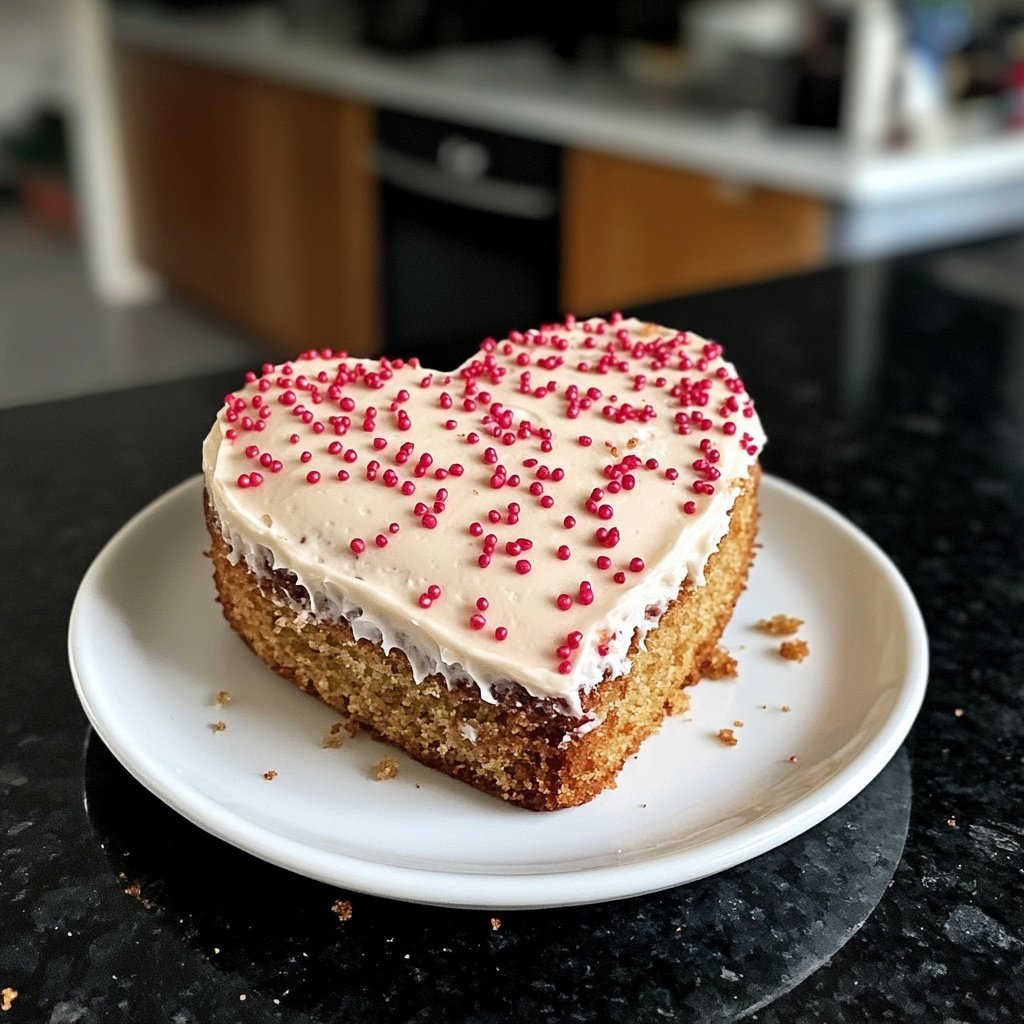
- Adorable heart-shaped presentation for special moments
- Creamy, tangy frosting that perfectly complements the cake
Perfecting the Red Velvet Texture
Achieving that signature red velvet texture is all about balancing the wet and dry ingredients. The buttermilk serves a crucial role here; it not only adds moisture but also reacts with the baking soda to provide a tender crumb. If you don't have buttermilk on hand, you can substitute it with regular milk mixed with a tablespoon of vinegar or lemon juice to mimic the acidity. This tweak can ensure your cake remains soft and moist, making every bite delightful.
When mixing the batter, be vigilant not to overmix it. Overmixing can lead to a tougher cake as too much gluten develops. Aim for a smooth consistency, but you want to stop mixing as soon as the ingredients are combined. The visual cue to look for is no flour patches remaining; it should be smooth and shiny, indicating that everything has come together perfectly for a moist cake.
Creative Frosting Techniques
For that beautiful finish, it's essential to apply the cream cheese frosting properly. Start with a crumb coat, which is a thin layer of frosting that traps any crumbs. Allow this layer to set for about 15-20 minutes in the refrigerator before adding the final layer of frosting. This technique ensures a clean and elegant appearance, especially with such a vibrant cake.
If you're interested in personalizing your frosting, consider adding a touch of lemon zest for extra flavor, which complements the sweetness of the cream cheese beautifully. Alternatively, if you're looking for a lighter option, you can whip in some heavy cream until fluffy to create a lighter texture. This variation allows you to customize the frosting to your taste and gives a lovely finish to the cake.
Ingredients
Ingredients
For the Cake:
- 1 cup all-purpose flour
- 1 cup granulated sugar
- 1/2 cup unsweetened cocoa powder
- 1/2 teaspoon baking soda
- 1 teaspoon baking powder
- 1/4 teaspoon salt
- 1/2 cup vegetable oil
- 1 large egg
- 1/2 cup buttermilk
- 1 teaspoon vanilla extract
- 1 tablespoon red food coloring
For the Cream Cheese Frosting:
- 8 oz cream cheese, softened
- 1/2 cup unsalted butter, softened
- 4 cups powdered sugar
- 1 teaspoon vanilla extract
- 2-3 tablespoons milk (as needed)
Instructions
Instructions
Prepare the Cake Batter
Preheat your oven to 350°F (175°C) and grease your heart-shaped cake pans. In a bowl, mix the flour, sugar, cocoa powder, baking soda, baking powder, and salt. In another bowl, whisk together the oil, egg, buttermilk, vanilla extract, and red food coloring. Combine the wet ingredients with the dry, mixing until smooth.
Bake the Cakes
Pour the batter evenly into the prepared cake pans. Bake for 18-20 minutes or until a toothpick inserted into the center comes out clean. Allow cooling in the pans for 10 minutes before transferring to a wire rack to cool completely.
Make the Cream Cheese Frosting
In a mixing bowl, beat the softened cream cheese and butter until creamy. Gradually add the powdered sugar and vanilla extract, mixing until combined. If the frosting is too thick, add a bit of milk until you reach your desired consistency.
Assemble the Mini Heart Cakes
Once the cakes are cooled, spread a layer of cream cheese frosting on top of one cake layer, then place the second layer on top. Frost the entire cake with the remaining cream cheese frosting. Decorate as desired.
Pro Tips
- For an extra touch, consider adding sprinkles or edible glitter on top of the frosting for a festive look. Make sure all your ingredients are at room temperature for the best results.
Storage and Make-Ahead Tips
These mini heart cakes can be made ahead of time, making them perfect for special occasions. Once cooled, wrap each cake layer in plastic wrap and store them in the refrigerator for up to 2 days. This helps to lock in moisture, ensuring they remain as fresh as when baked. If you're really pressed for time, you could also freeze the cakes. After wrapping, they can last in the freezer for up to 3 months. Just allow them to thaw completely before frosting.
When it comes to storing your frosted mini heart cakes, use an airtight container to prevent moisture loss. They can be kept in the refrigerator for up to 4 days. However, if adorned with fresh fruits or delicate decorations, consume those within a day to avoid any spoilage.
Scaling the Recipe
If you're hosting a larger gathering, scaling up this recipe is quite straightforward. You can simply multiply each ingredient by the number of cakes you want to create. This batch can easily be doubled to fill multiple pans if you own larger heart-shaped molds. Just remember to increase your baking time slightly—check for doneness a few minutes earlier to prevent overbaking.
For a fun variation, consider making mini cupcakes instead. Simply pour a smaller amount of the batter into cupcake liners and bake for around 15 minutes. This approach makes for easy servings and can be great for party displays. Plus, with the use of mini cupcake liners, it adds a whimsical touch to your dessert spread.
Questions About Recipes
→ Can I make this cake ahead of time?
Yes, you can bake the cake layers ahead of time. Just wrap them tightly in plastic wrap and store them in the fridge for up to three days.
→ Is there a substitute for buttermilk?
If you don't have buttermilk, you can mix 1/2 cup of milk with 1/2 tablespoon of vinegar or lemon juice and let it sit for about 5 minutes.
→ Can I use any food coloring?
Yes, you can use any red food coloring of your choice, but gel food coloring tends to provide the most vibrant color without altering the cake's texture.
→ How should I store the leftover cake?
Leftover cake can be stored in an airtight container in the refrigerator for up to 3 days. Allow it to come to room temperature before serving for the best flavor.
Mini Heart Cake with Red Velvet
Created by: Callie Morgan
Recipe Type: Sweet Oven Classics
Skill Level: Intermediate
Final Quantity: 6 servings
What You'll Need
For the Cake:
- 1 cup all-purpose flour
- 1 cup granulated sugar
- 1/2 cup unsweetened cocoa powder
- 1/2 teaspoon baking soda
- 1 teaspoon baking powder
- 1/4 teaspoon salt
- 1/2 cup vegetable oil
- 1 large egg
- 1/2 cup buttermilk
- 1 teaspoon vanilla extract
- 1 tablespoon red food coloring
For the Cream Cheese Frosting:
- 8 oz cream cheese, softened
- 1/2 cup unsalted butter, softened
- 4 cups powdered sugar
- 1 teaspoon vanilla extract
- 2-3 tablespoons milk (as needed)
How-To Steps
Preheat your oven to 350°F (175°C) and grease your heart-shaped cake pans. In a bowl, mix the flour, sugar, cocoa powder, baking soda, baking powder, and salt. In another bowl, whisk together the oil, egg, buttermilk, vanilla extract, and red food coloring. Combine the wet ingredients with the dry, mixing until smooth.
Pour the batter evenly into the prepared cake pans. Bake for 18-20 minutes or until a toothpick inserted into the center comes out clean. Allow cooling in the pans for 10 minutes before transferring to a wire rack to cool completely.
In a mixing bowl, beat the softened cream cheese and butter until creamy. Gradually add the powdered sugar and vanilla extract, mixing until combined. If the frosting is too thick, add a bit of milk until you reach your desired consistency.
Once the cakes are cooled, spread a layer of cream cheese frosting on top of one cake layer, then place the second layer on top. Frost the entire cake with the remaining cream cheese frosting. Decorate as desired.
Extra Tips
- For an extra touch, consider adding sprinkles or edible glitter on top of the frosting for a festive look. Make sure all your ingredients are at room temperature for the best results.
Nutritional Breakdown (Per Serving)
- Calories: 400 kcal
- Total Fat: 26g
- Saturated Fat: 15g
- Cholesterol: 195mg
- Sodium: 85mg
- Total Carbohydrates: 32g
- Dietary Fiber: 3g
- Sugars: 24g
- Protein: 6g