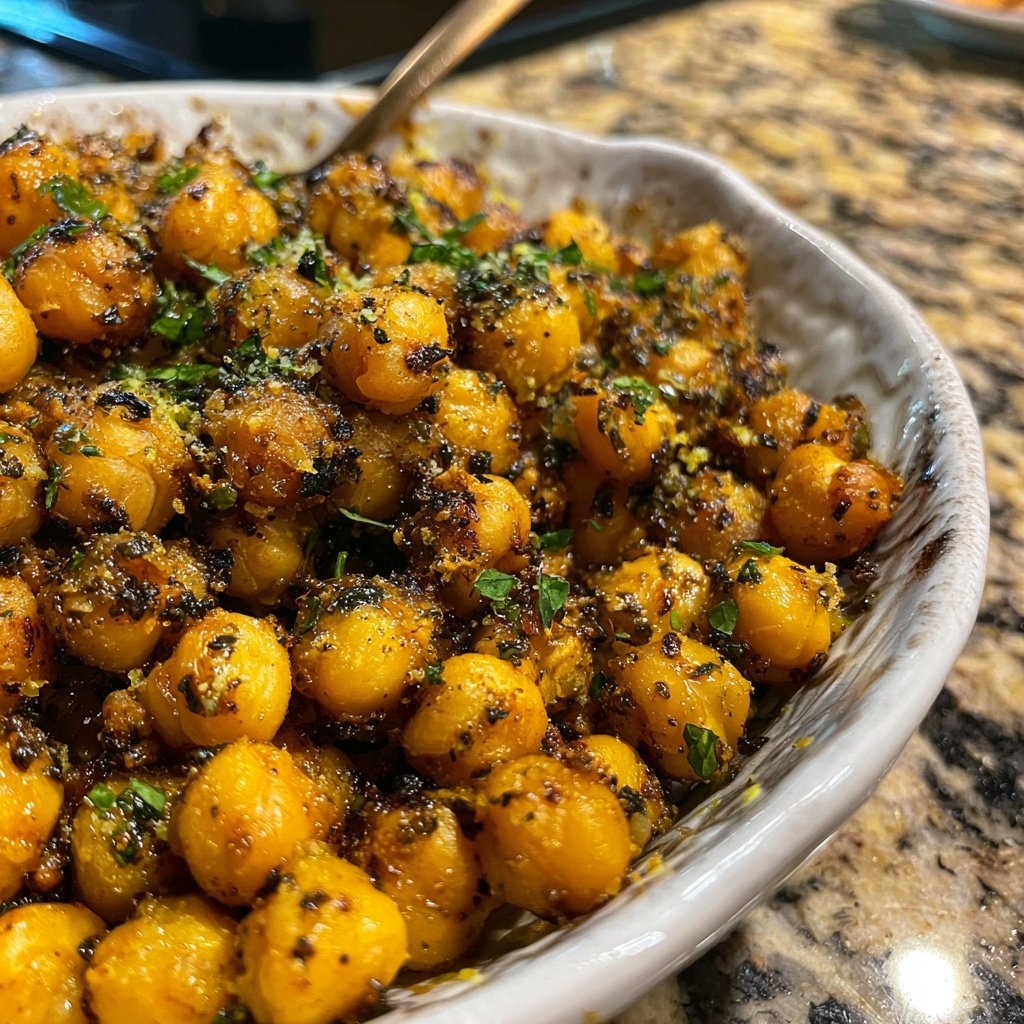
Roasted Lemon Garlic Chickpea Skillet
Highlighted under: Healthy Everyday Eats
I absolutely love this Roasted Lemon Garlic Chickpea Skillet recipe! It’s a delicious and healthy dish that bursts with flavor in every bite. The tangy zest of fresh lemon combined with the warmth of garlic creates a fragrant aroma that fills my kitchen. I can whip it up in just 30 minutes, making it a perfect weeknight dinner option. Plus, it’s packed with protein and fiber from the chickpeas, making it both satisfying and nourishing. Whether served on its own or alongside grains, it's a dish you’ll want to make again and again.
While experimenting in the kitchen last week, I stumbled upon an incredible combination that transformed my usual chickpea dish into something extraordinary. Using freshly squeezed lemon juice along with roasted garlic really brings out the natural nuttiness of the chickpeas. I found that roasting the garlic until it’s golden softens the flavors and sweetens them, resulting in a delightful contrast with the acidity of the lemon.
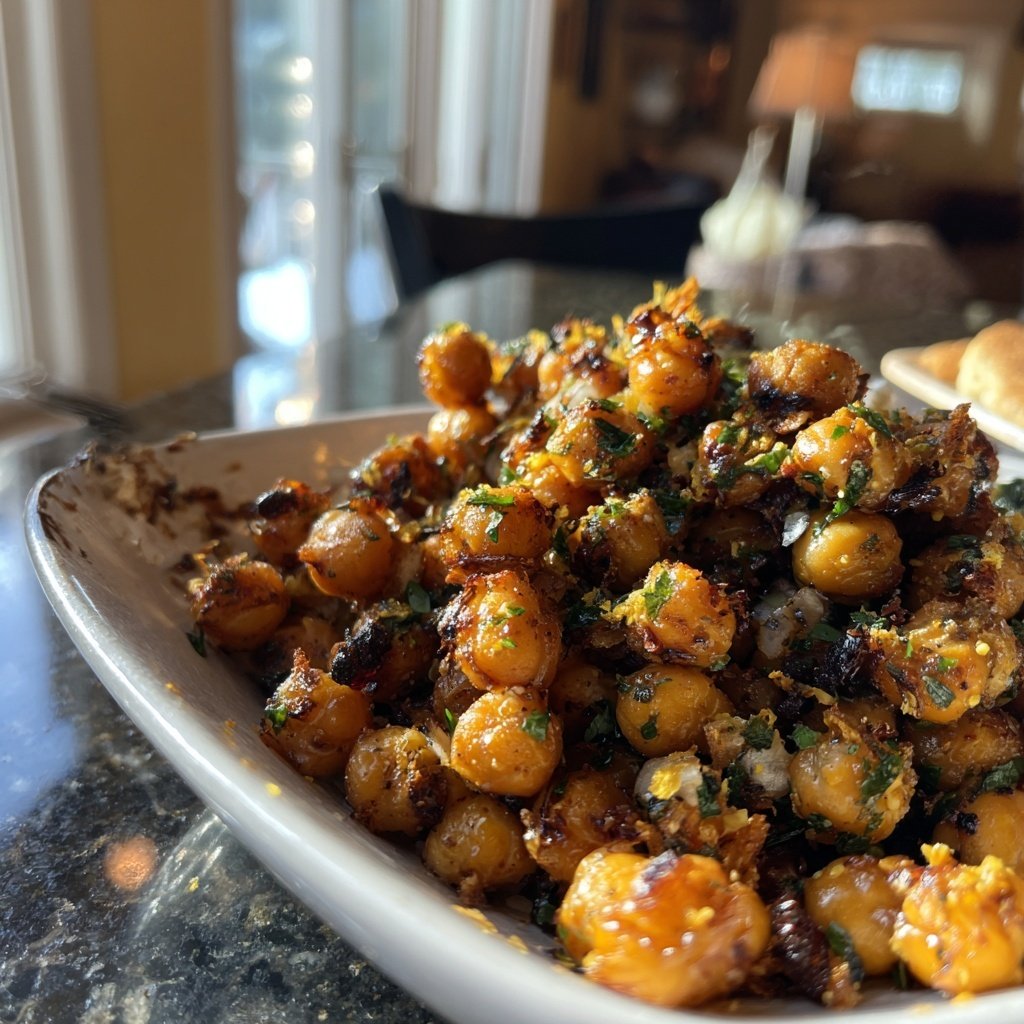
Another tip I have is to serve this dish immediately after cooking; the textures are at their best! The crispy edges of the chickpeas paired with the creamy garlic create a delightful mouthfeel that you won’t want to miss. Enjoy it warm, and garnish with fresh herbs for that extra pop of flavor!
Why You'll Love This Recipe
- Bright and zesty flavor that energizes your meal
- Quick and easy preparation in just 30 minutes
- High in protein and fiber for a nutritious bite
Enhancing Flavor Profiles
The combination of lemon and garlic is a classic that truly elevates the chickpeas in this dish. Garlic, when minced and roasted, develops a sweet and nutty flavor that complements the chickpeas beautifully. To enhance the aroma, consider crushing the garlic instead of mincing it; this will release even more oils and flavor. When mixing the chickpeas with the spices, don’t rush this step—ensure they’re evenly coated for an optimal flavor experience.
Lemon zest is another highlight of this recipe. It not only adds brightness but also imparts a complex aromatic profile. Make sure to zest the lemon before juicing it; this way, you can avoid the bitter pith. I recommend using a microplane for the zesting process, which yields finer zest that mixes seamlessly with the chickpeas, ensuring every bite is a burst of citrusy delight.
Cooking Tips for Perfect Chickpeas
When roasting the chickpeas, spread them out evenly on the baking sheet. An overcrowded pan can lead to steaming rather than roasting, resulting in a less crispy texture. Use parchment paper for easy cleanup and to allow the bottom of the chickpeas to crisp up evenly. If you find your chickpeas are still soft after 20 minutes, keep roasting them in five-minute increments until they are golden and crispy, keeping an eye on them to avoid burning.
If you're looking for variations, consider adding a pinch of cayenne pepper or red pepper flakes to the mix for a spicy kick. Alternatively, you could swap out smoked paprika for regular paprika if you're looking for a less intense flavor. For those needing a low-sodium option, unsalted canned chickpeas work just as well; just adjust the salt in the recipe accordingly.
Ingredients
Gather these simple ingredients to create a flavorful dish.
Ingredients
- 2 cans of chickpeas, drained and rinsed
- 3 tablespoons olive oil
- 4 cloves garlic, minced
- Zest and juice of 1 large lemon
- 1 teaspoon ground cumin
- 1 teaspoon smoked paprika
- Salt and pepper to taste
- Fresh parsley, chopped for garnish
Make sure to have everything ready before you start cooking!
Instructions
Follow these steps to whip up your skillet meal.
Preheat the Oven
Preheat your oven to 400°F (200°C).
Prepare the Chickpeas
In a large bowl, combine the drained chickpeas, olive oil, minced garlic, lemon zest, cumin, smoked paprika, salt, and pepper. Toss until the chickpeas are well coated.
Roast the Mixture
Spread the chickpea mixture onto a baking sheet in a single layer. Roast in the oven for 20 minutes, stirring halfway through, until chickpeas are golden and crispy.
Add Lemon Juice
Once out of the oven, drizzle the roasted chickpeas with fresh lemon juice and toss gently.
Serve
Transfer to a serving dish, garnish with chopped parsley, and enjoy warm!
Pair this dish with your favorite grains or enjoy it on its own!
Pro Tips
- For an extra kick, add a pinch of red pepper flakes before serving.
Storage and Make-Ahead Tips
This Roasted Lemon Garlic Chickpea Skillet can be prepared ahead of time, making it a fantastic option for meal prep. Simply follow the steps up to roasting the chickpeas, then store the uncooked mixture in an airtight container in the fridge for up to 2 days. When you're ready to cook, just spread it on a baking sheet and follow the roasting instructions as usual. The flavors will develop even further during the resting period.
If you have leftovers, store them in the refrigerator for up to 3 days. Reheat them in a skillet over medium heat for optimal texture, tossing occasionally until heated through. To restore some crispiness, you can finish them under the broiler for a minute—just watch closely to prevent burning.
Serving Suggestions
This dish can stand alone as a satisfying snack or serve as an accompaniment to your favorite grains. I often enjoy it over a bed of fluffy quinoa or alongside a fresh salad. The protein and fiber-rich chickpeas pair excellently with a grain base, providing a balanced meal that keeps you full and energized.
For an extra layer of flavor, consider serving the dish with a dollop of yogurt or tahini sauce drizzled over the top. The creaminess contrasts nicely with the crispy chickpeas, enhancing the dish's overall texture and taste. You can also add some roasted vegetables for color and added nutrients, making it a vibrant centerpiece for your dinner table.
Questions About Recipes
→ Can I use dried chickpeas?
Yes! Just soak and cook them according to package instructions before using them in the recipe.
→ How can I store leftovers?
Store any leftovers in an airtight container in the fridge for up to 3 days. Reheat in the oven for best results.
→ What can I serve this with?
This skillet dish pairs wonderfully with rice, quinoa, or even on top of a salad.
→ Can I add other vegetables?
Absolutely! Feel free to add roasted vegetables like bell peppers or zucchini for more flavor and nutrition.
Roasted Lemon Garlic Chickpea Skillet
Created by: Callie Morgan
Recipe Type: Healthy Everyday Eats
Skill Level: Easy
Final Quantity: 4 servings
What You'll Need
Ingredients
- 2 cans of chickpeas, drained and rinsed
- 3 tablespoons olive oil
- 4 cloves garlic, minced
- Zest and juice of 1 large lemon
- 1 teaspoon ground cumin
- 1 teaspoon smoked paprika
- Salt and pepper to taste
- Fresh parsley, chopped for garnish
How-To Steps
Preheat your oven to 400°F (200°C).
In a large bowl, combine the drained chickpeas, olive oil, minced garlic, lemon zest, cumin, smoked paprika, salt, and pepper. Toss until the chickpeas are well coated.
Spread the chickpea mixture onto a baking sheet in a single layer. Roast in the oven for 20 minutes, stirring halfway through, until chickpeas are golden and crispy.
Once out of the oven, drizzle the roasted chickpeas with fresh lemon juice and toss gently.
Transfer to a serving dish, garnish with chopped parsley, and enjoy warm!
Extra Tips
- For an extra kick, add a pinch of red pepper flakes before serving.
Nutritional Breakdown (Per Serving)
- Calories: 290 kcal
- Total Fat: 10g
- Saturated Fat: 1g
- Cholesterol: 0mg
- Sodium: 290mg
- Total Carbohydrates: 40g
- Dietary Fiber: 12g
- Sugars: 3g
- Protein: 14g